Choosing an art style: palette posterization
When I decided to make my own game (okay, when I once again decided to make my own game), the idea of feudal Japan with a folklore element came to mind. It's not a new idea — there are plenty of projects in this setting, and since then there have only been more. That's why I was, and still am, convinced that the choice of visual style is especially important at the earliest stage. It's what can really set a game apart from the rest, even if its mechanics aren't groundbreaking.
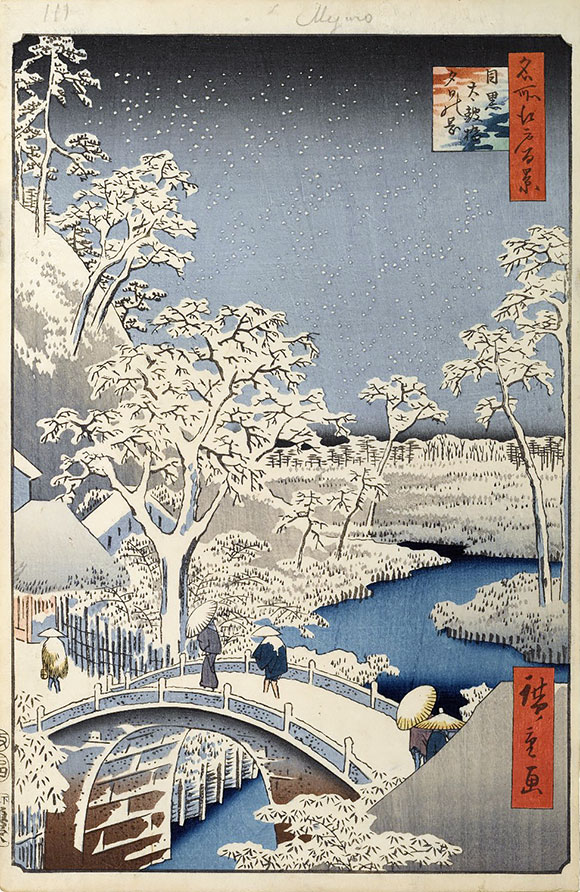
I quickly arrived at the idea of tying the traditional folklore underlying the narrative to an equally traditional visual presentation. Especially since I'd long been drawn to the woodblock prints of Japanese painting masters like Hokusai and Utagawa Kuniyoshi. That's how I landed on the idea of adapting the Ukiyo-e technique — and as it turned out, this idea later fed into some key gameplay mechanics I'm planning to implement (more on those later, once I actually have something to show).
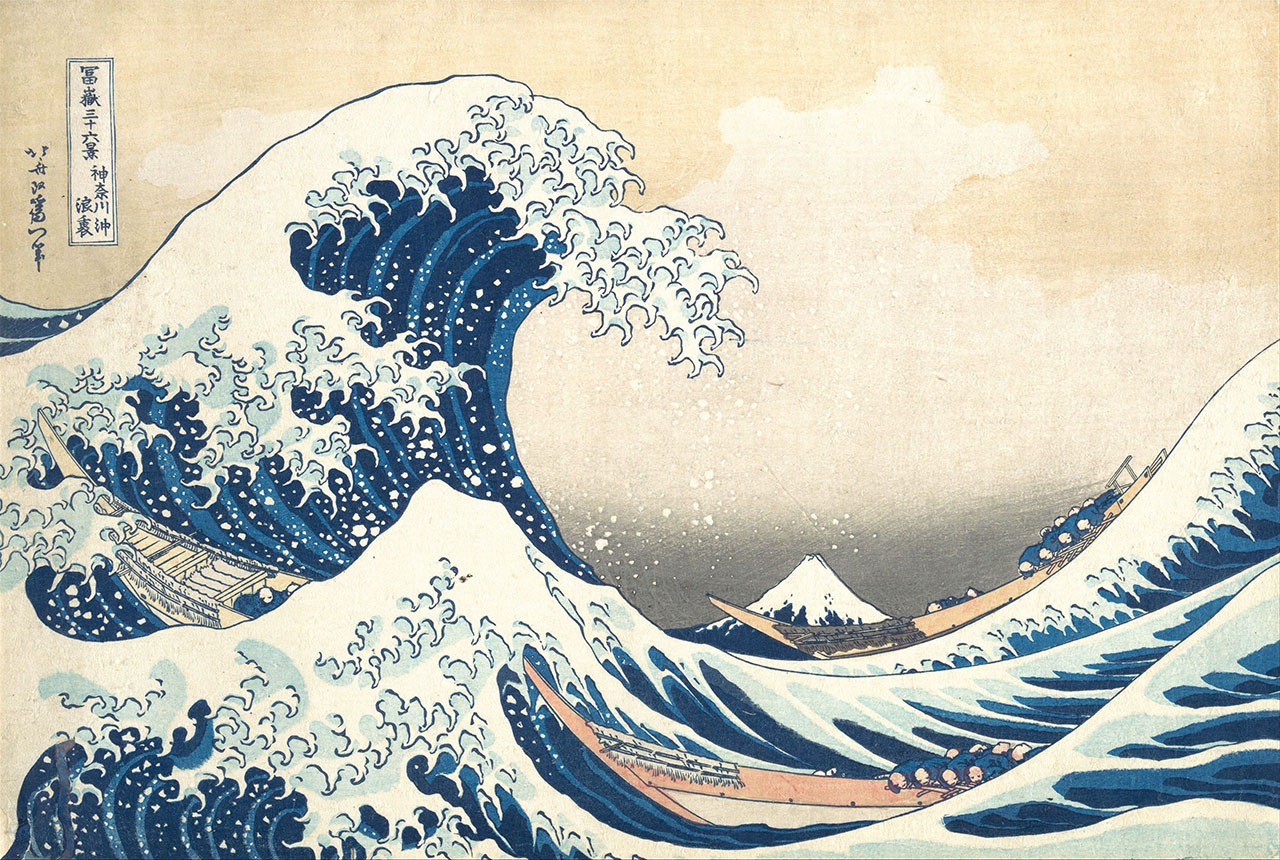
I won't pretend to be a huge expert on Japanese painting — I've mostly seen the most famous popular works, like The Great Wave off Kanagawa or Takiyasha the Witch and the Skeleton Spectre. But that was enough to inspire me and push me to dig deeper into the subject.
Right now, my adaptation of this style doesn't look all that successful — the game assets have little in common with the artists' actual techniques. That's partly because I want to make some changes to the style to make it more "accessible" and closer to what a Western player is used to, and partly because of my currently limited resources for experimentation. I'm no artist myself, and I'm not ready to pay for ten variations of the same asset just to feel my way toward the right look. On top of that there's my general inexperience working with visuals. Still, I'm confident all of this is just growing pains, and for now I'm leaving the first versions as placeholders — though, honestly, they're not that bad, huh?
So, which key aspects of Ukiyo-e and woodblock printing did I need to implement (and still need to)? First and foremost, when we talk about this style, the conversation immediately turns to a very restrained palette, without a huge range of shades. This shows up as high contrast in the image, with clear color separation between objects and surfaces. This is where I quickly landed on posterization — a technique that replaces any fragment in a scene with the nearest match from a fixed palette. In effect, this drastically reduces the color depth of the image (even though technically it's still full 24-bit RGB), giving it that distinctive "blocky" look.
At the implementation level, this works almost absurdly simply: a fragment shader that, for every pixel, looks for the nearest neighbor in a palette passed to the shader. The palette itself is stored as a uniform texture with a negligibly small size of 16x4 pixels — I'll explain the 4 rows in the next paragraph. The one non-obvious part for me turned out to be the method for comparing colors when searching for that nearest neighbor. It turns out that searching by the closest RGB values is a bad idea — it doesn't produce a visually pleasant result. A bit of digging pointed me toward converting from RGB to HSV instead.
uniform sampler2D paletteTexture;
uniform int paletteColorsNum;     // colors per row
uniform int paletteVariationsNum; // total rows

<...>

vec3 rgb2hsv(vec3 c) {
    vec4 K = vec4(0.0, -1.0 / 3.0, 2.0 / 3.0, -1.0);
    vec4 p = mix(vec4(c.bg, K.wz), vec4(c.gb, K.xy), step(c.b, c.g));
    vec4 q = mix(vec4(p.xyw, c.r), vec4(c.r, p.yzx), step(p.x, c.r));
    float d = q.x - min(q.w, q.y);
    float e = 1.0e-10;
    return vec3(abs(q.z + (q.w - q.y) / (6.0 * d + e)), d / (q.x + e), q.x);
}

float color_distance(vec3 a, vec3 b) {
    // CIE color distance approximation
    vec3 diff = a - b;
    float red_mean = (a.r + b.r) * 0.5;
    return sqrt(
        (2.0 + red_mean) * diff.r * diff.r +
        4.0 * diff.g * diff.g +
        (3.0 - red_mean) * diff.b * diff.b
    );
}

vec3 find_nearest_palette_color(vec3 color, int row) {
    vec3 outputColor = color;
    float minDist = 9999.0;
    for (int i = 0; i < paletteColorsNum; i++) {
        vec2 centerCoord = vec2(
            (float(i) + 0.5) / float(paletteColorsNum),
            (float(row) + 0.5) / float(paletteVariationsNum)
        );
        vec3 centerColor = texture(paletteTexture, centerCoord).rgb;
        float curDist = color_distance(color, centerColor);
        if (curDist < minDist) {
            minDist = curDist;
            outputColor = centerColor;
        }
    }
    return outputColor;
}

<...>
From there, though, I took things a step further. I remembered that for my game I'd already planned a simplified day/night cycle — with the day discretely split into several phases, the way it's done in, say, Cult of the Lamb or Stardew Valley. And that's when the idea naturally came to mind: use a separate palette for each phase. Morning — with warmer, less saturated tones; day — with the base set of colors; evening — with more red and higher contrast; and night — its own blue-gray-black palette. Each of these "time-of-day" palettes is simply a separate row in the shared texture. Hence the 4 rows in the main palette: morning, day, evening, and night. This way I avoid needing extra post-processing, lighting work, or color correction. The assets don't need reworking either — I use the exact same sprites, and posterization adapts them to whatever look the current phase of day calls for. After all, it makes sense that light from natural sources would, to some degree, produce a similar effect anyway, right? Here's what I ended up with:
I often noticed that the pains don't really deal with shadows — night scenes are distinguished mainly by a muted black-blue-white palette rather than the usual environmental shading we're used to. Because of that, all my light sources do is restore the default look to fragments within a given radius. In other words, near a light source the palette is always the daytime one, and whatever the actual time of day is gets ignored. To strengthen the effect, I deliberately added a brightness shift for the paper background (except in areas affected by light sources). The brightness of the sprites themselves stays unchanged.
As for the background, right now I'm using a simple aged-paper texture I found on Google. On top of that, I also apply a "normal map" texture, which the vertex shader uses to add extra displacement, creating dents and scratches across the whole image.

Later on, I'm planning to lean further into the metaphor of a world drawn on paper — both visually and in the mechanics. I have some big plans in that direction. More on that later, once I have something to show :) The next posts will be about choosing the Odin language, and about the current state of the editor implementation.